This tutorial will step you through how to set-up and run servers in the Crosspeer Cloud. You will learn how you can create, start and resize cloud computing servers all within seconds, taking advantage of our on-demand capacity.
The standard trial account is used for this lesson. Sign up for the free cloud hosting trial on our website and try out everything you're about to learn.
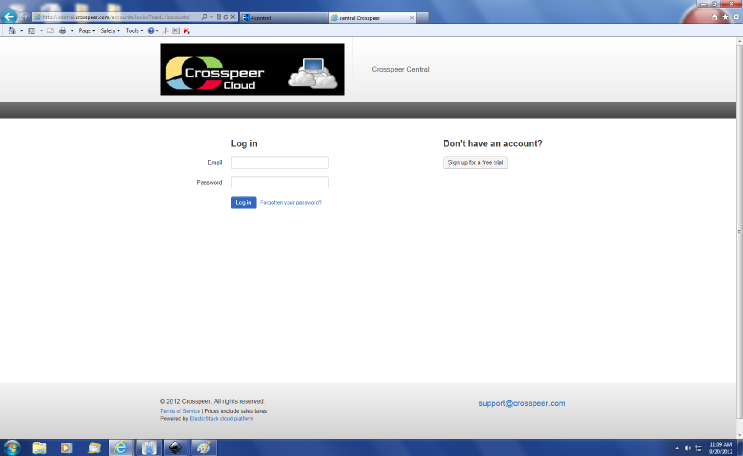
Let's get started. From the Crosspeer website, you can sign-up for a free cloud hosting trial account. After sign-up, go to the login page.
At the login page, enter your email address and the password for your account, click Log in, and that will take you to the account control panel.
Setting up a Crosspeer Cloud Server
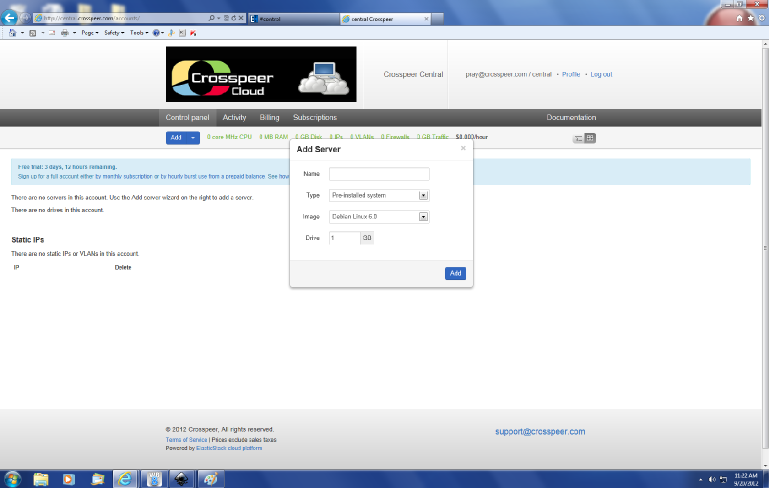
To add a server, Click on the Add Menu and you can select Add Server.
You can supply your server with a Name, which applies to both options: just the drive, or the server and the drive if you have both.
Then select Type and choose from the following options:
Self-Install from CD - Here the server is running one of the CDs we have provided centrally, and it's also running a drive in your account.
Pre-installed System - Here you can take one of our standard images and make a copy of it onto your drive
Boot from Live CD - Here you can 'boot' off a centrally provided CD drive
Boot from Existing Drive - Here you can boot from a drive that has been previously created.
Custom - Here you can choose to do a custom install.
Then select the size of the drive you would like (in GB). When you've finished making your selections, click the Add button.
When you Add a Server, as shown above, you get the drive and a server that's set up to boot from that drive. When you Add a Drive,
you just get the drive. Some other clouds have a more basic interface in which a 'server' is linked to a single drive. The Crosspeer approach is more powerful and allows advanced configurations such as attaching server drives to a server or building alternative configurations which boot from the same drive.
To add a drive, click on the Add Menu and select can select Add Drive as seen below. You can give your drive a Name, select from any of our Pre-Installed standard OS images to be copied onto your drive, or choose 'Blank', and enter in a size (in GB) for your drive and click Add. drive to be.
After creating your server, you can Start the server and connect via VNC. We provide VNC remote desktop access to all our servers, so you can log on to your server over VNC and actually see it boot. Tip: You might consider using TightVNC, a free remote control software package. With TightVNC you can see the desktop of a remote machine and control it with your local mouse and keyboard, just like you would do if sitting in front of that computer. You can download TightVNC from their website.
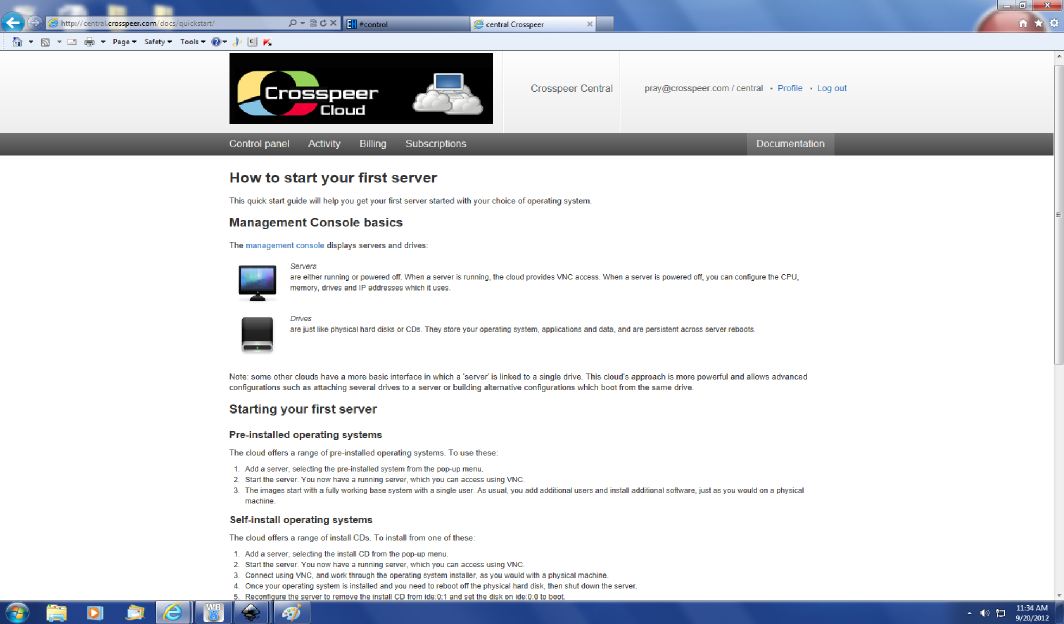
You now have a running server, which you can access using VNC or any method which your operating system itself provides such as SSH or Windows Remote Desktop. For additional assistance, we provide a Quick Start Guide inside the Control Panel. You can find the Quick Start Guide by clicking on the Documentation Menu.
You now have a running server, which you can access using VNC or any method which your operating system itself provides such as SSH or Windows Remote Desktop. For additional assistance, we provide a Quick Start Guide inside the Control Panel. You can find the Quick Start Guide by clicking on the Documentation Menu.
After the server boots, using the VNC viewer you now have a view of the desktop of the booted server. We provide you with full access to the server and drives, just as you would have with a physical machine. From the control panel, you can see all the details about the server and drives that you have set-up in your account.
The account control panel (below) is where you carry out the majority of the tasks within your account. You can add, stop and start cloud computing servers, and create and manage the drives that you install the servers on to.